Getting started
Anaconda Installation
We will use Python via the Anaconda distribution.
Download Anaconda here.
There are a variety of different Python distributions; for statistics and machine learning, we recommend Anaconda as it comes with many useful packages pre-installed.
(It is also a good idea NOT to use your computer’s pre-installed Python - you don’t want to accidentally change any system settings!)
Anaconda requires a few GBs of storage - a more lightweight version is Miniconda, which you can download here.
Managing packages
There are many open source Python packages for statistics and machine learning.
To download packages, two popular package managers are Conda and Pip. Both Conda and Pip come with the Anaconda distribution.
Conda is a general-purpose package management system, designed to build and manage software of any type from any language. This means conda can take advantage of many non-python packages (like BLAS, for linear algebra operations).
Pip is a package manager for python. You may see people using pip with environments using virtualenv or venv.
We recommend:
- use a conda environment
- within this environment, use conda to install base packages such as
pandasandnumpy - if a package is not available via conda, then use pip
See here for some conda vs pip misconceptions, and why conda is helpful.
Environments
About
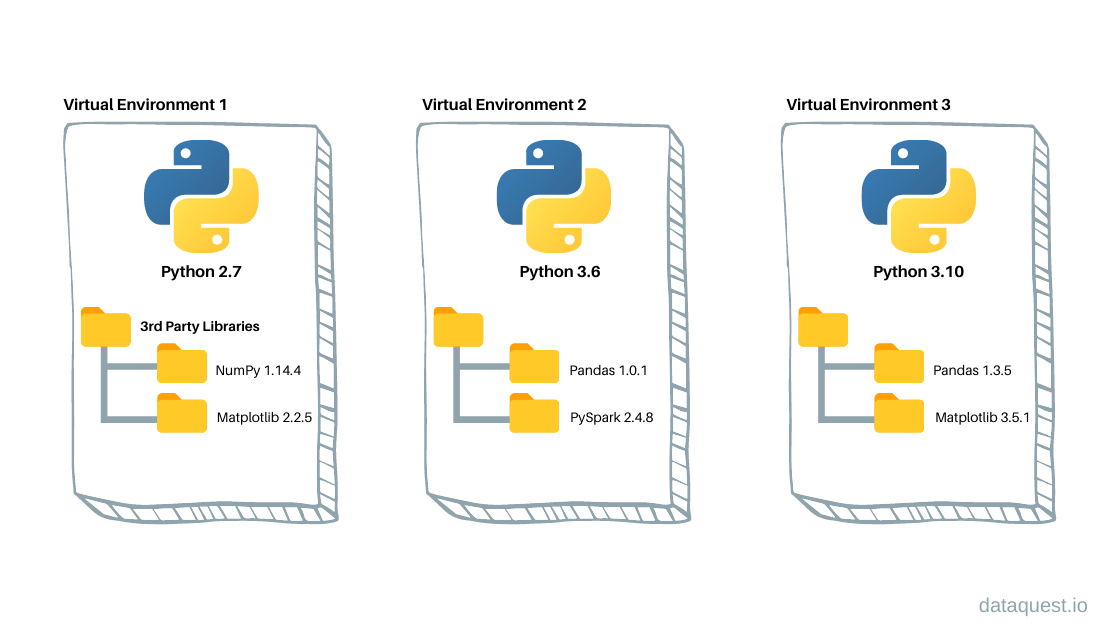
It is good coding practice to use virtual environments with Python. From this blog:
A Python virtual environment consists of two essential components: the Python interpreter that the virtual environment runs on and a folder containing third-party libraries installed in the virtual environment. These virtual environments are isolated from the other virtual environments, which means any changes on dependencies installed in a virtual environment don’t affect the dependencies of the other virtual environments or the system-wide libraries. Thus, we can create multiple virtual environments with different Python versions, plus different libraries or the same libraries in different versions.

Creating an environment for MSDS-534
We recommend creating a virtual environment for your MSDS-534 coding projects. This way, you can have an environment with all the necessary packages and you can easily keep track of what versions of the packages you used.
- Open Terminal (macOS) or a shell
- Create an environment called
msds534using Conda with the command:conda create --name msds534 - To install packages in your environment, first activate your environment:
conda activate msds534 - Then, install the following packages using the command:
conda install numpy pandas scikit-learn matplotlib seaborn jupyter ipykernel - Install PyTorch by running the appropriate command from here (for macOS, the command is:
pip3 install torch torchvision) - To exit your environment:
conda deactivate
Here is a helpful cheatsheet for conda environment commands.
For more details about the shell / bash, here is a helpful resource.
VSCode
There are a number of Python IDEs (integrated development environments). In class, we will be using VSCode (download here).
- Download
lecture-1.ipynbhere and open it in VSCode. - To use your
msds534environment, on the top right hand corner, click “Select Kernel” > “Python Environments” > msds534. If it prompts you to installipykernel, follow the prompts to install it.
Jupyter notebooks (.ipynb files) are useful to combine code cells with text (as markdown cells).
VSCode also has a Python interactive window (details here).
Learning Python
In this class, we will assume some familiarity with: